SOHO (B) Installation

The only tool you’ll need which isn’t included is a level. A drill with an Allen key / inner hexagon bit (size H4) will save you a lot of time (recommended).

Step 1

Place the base on the floor and make sure it is level. Add the backside panel. Insert two screws at the bottom.

Hold it firmly until step 2 is completed!

Step 2

Insert the screw in the middle and add the right side panel. Insert two screws at the bottom and one at the top. Tighten the corner screw in the middle.

You can now let go of the backside panel!

Step 3

Add the left side panel. Insert the screw in the middle, two screws at the bottom and one at the top.

Tighten the corner screw in the middle.

Step 4

Put the ceiling panel on top of the booth in a resting position just before it fits into place. Connect the cables from the backside panel to those of the ceiling panel.

Finish sliding on the ceiling panel (if it doesn’t quite fall into place on the right side the cable might be stuck in the back).

Step 5

Slide in the shelf. Screw in the bolt and half-moon washer from underneath the shelf on the left side. Screw in the bolt and half-moon washer from underneath the shelf on the right side.

Tighten the bolts.

Step 6

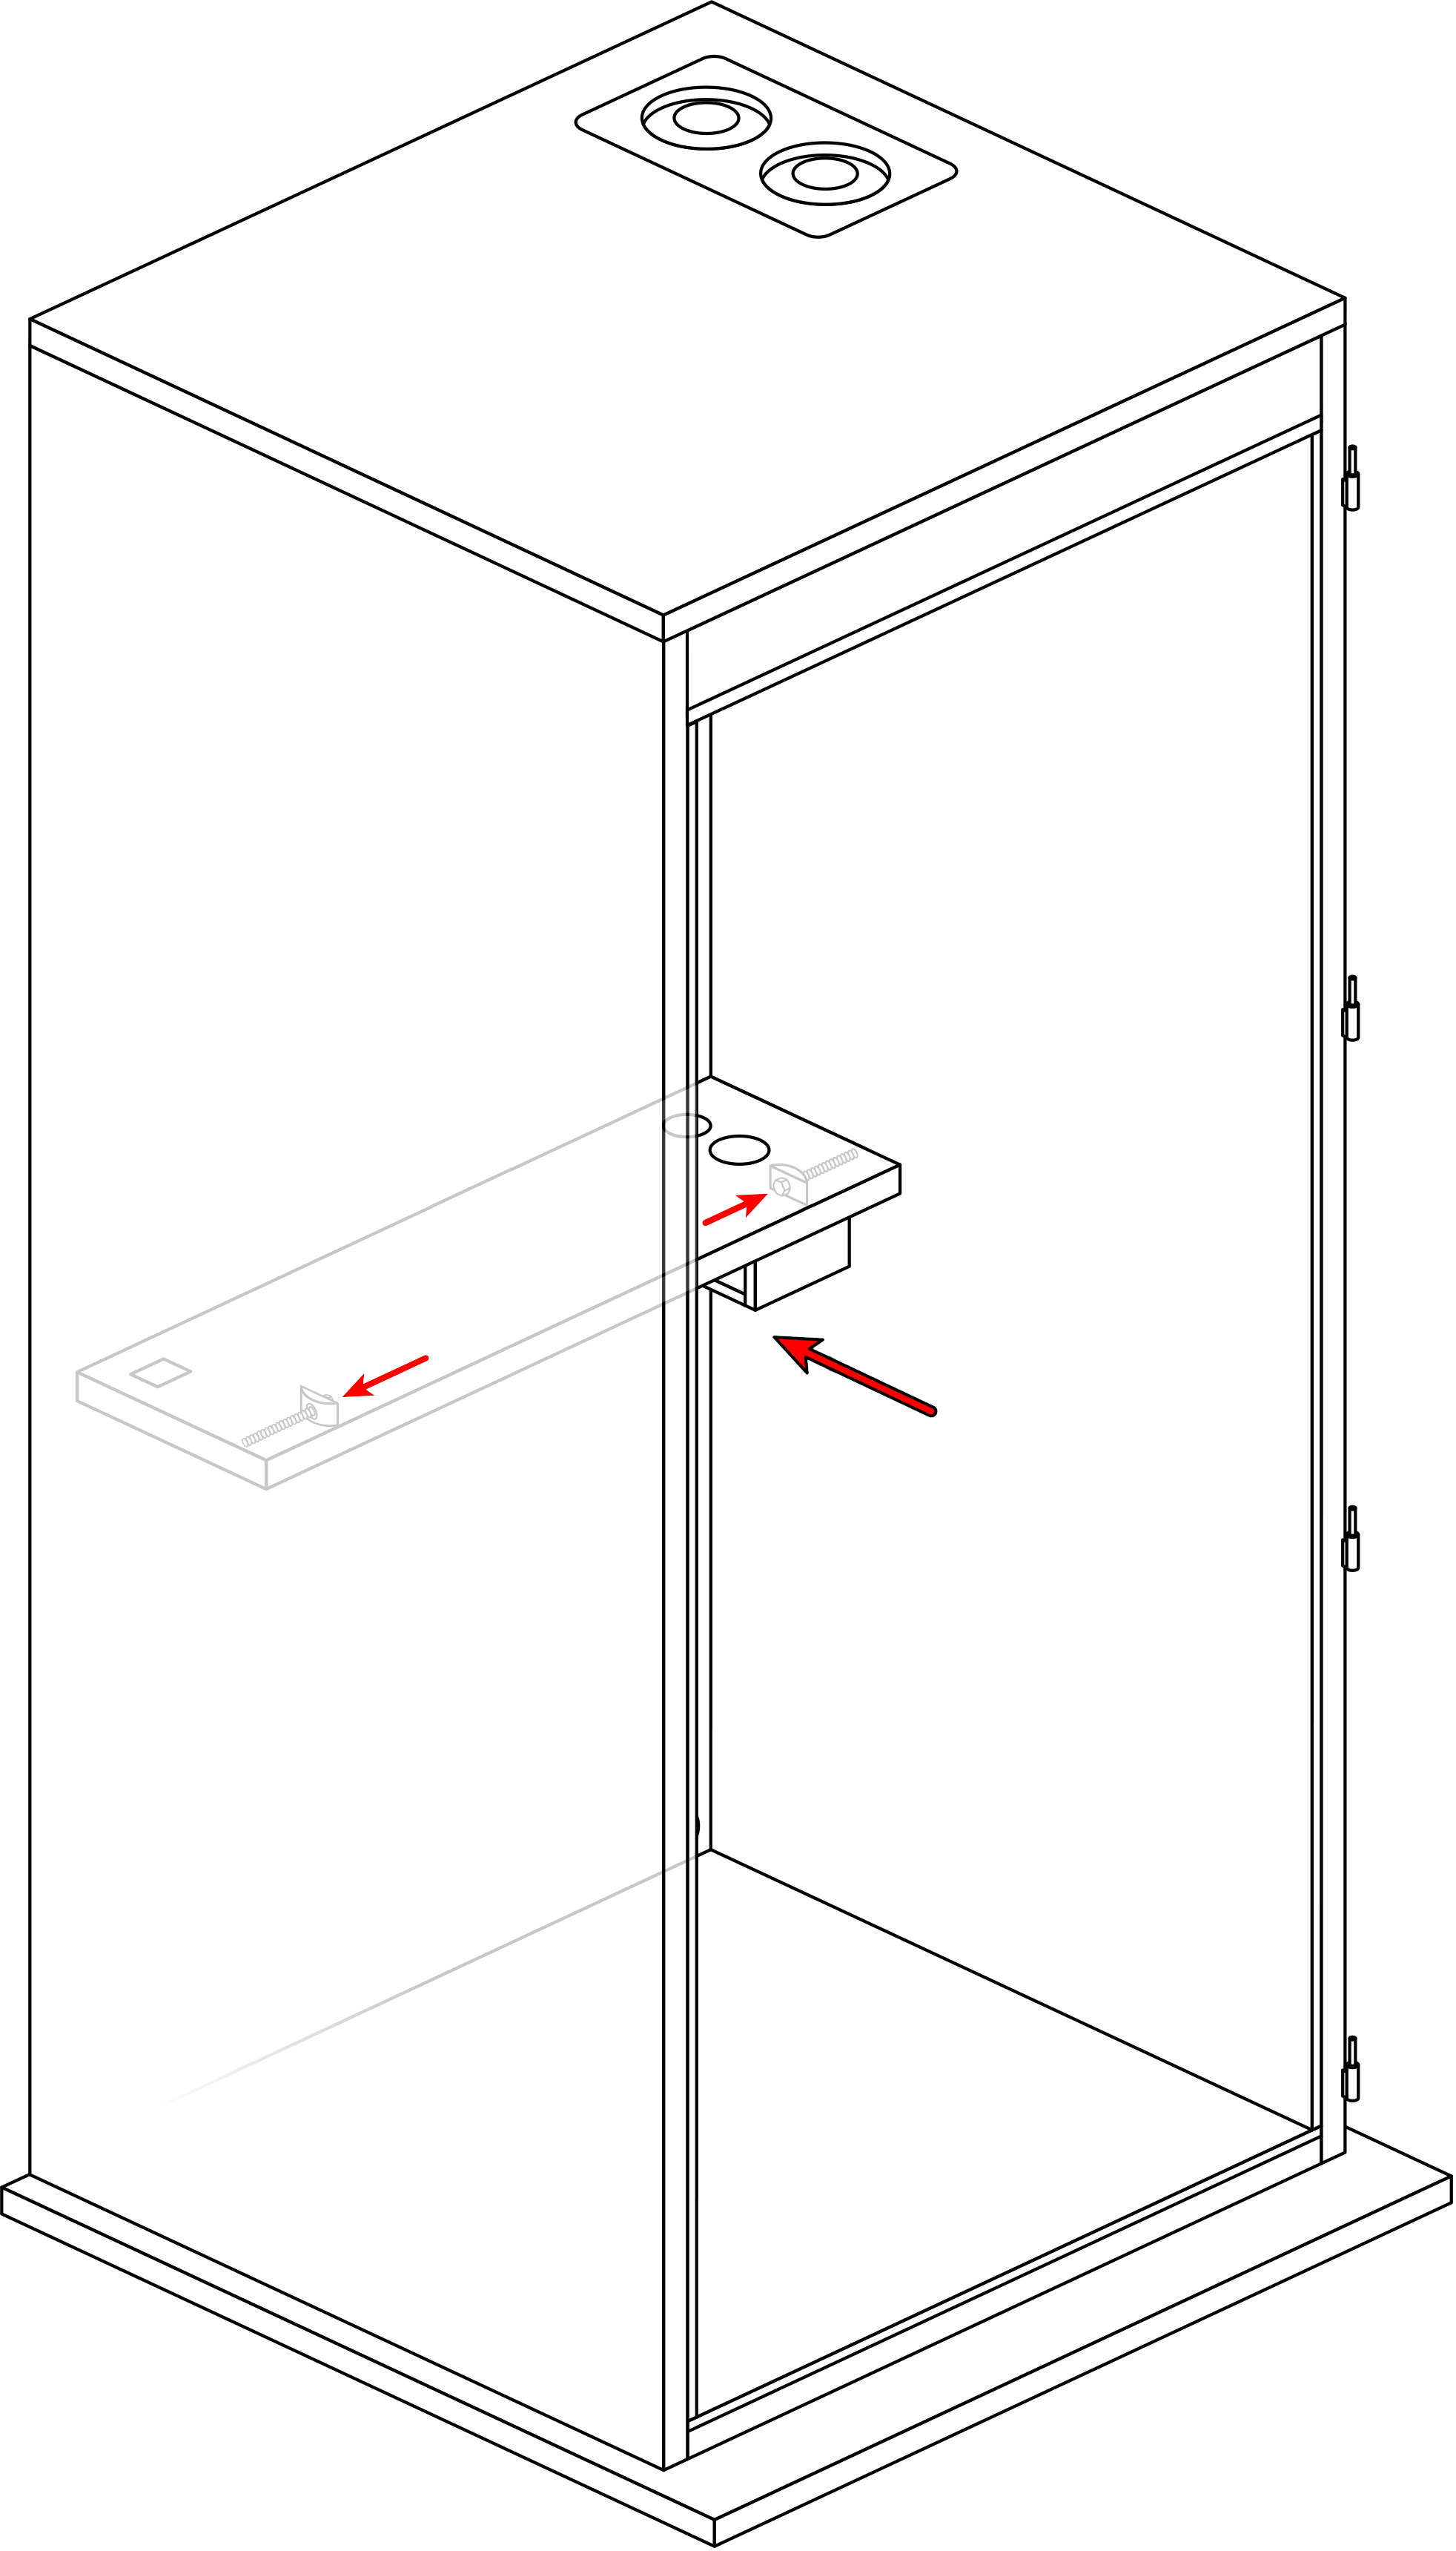
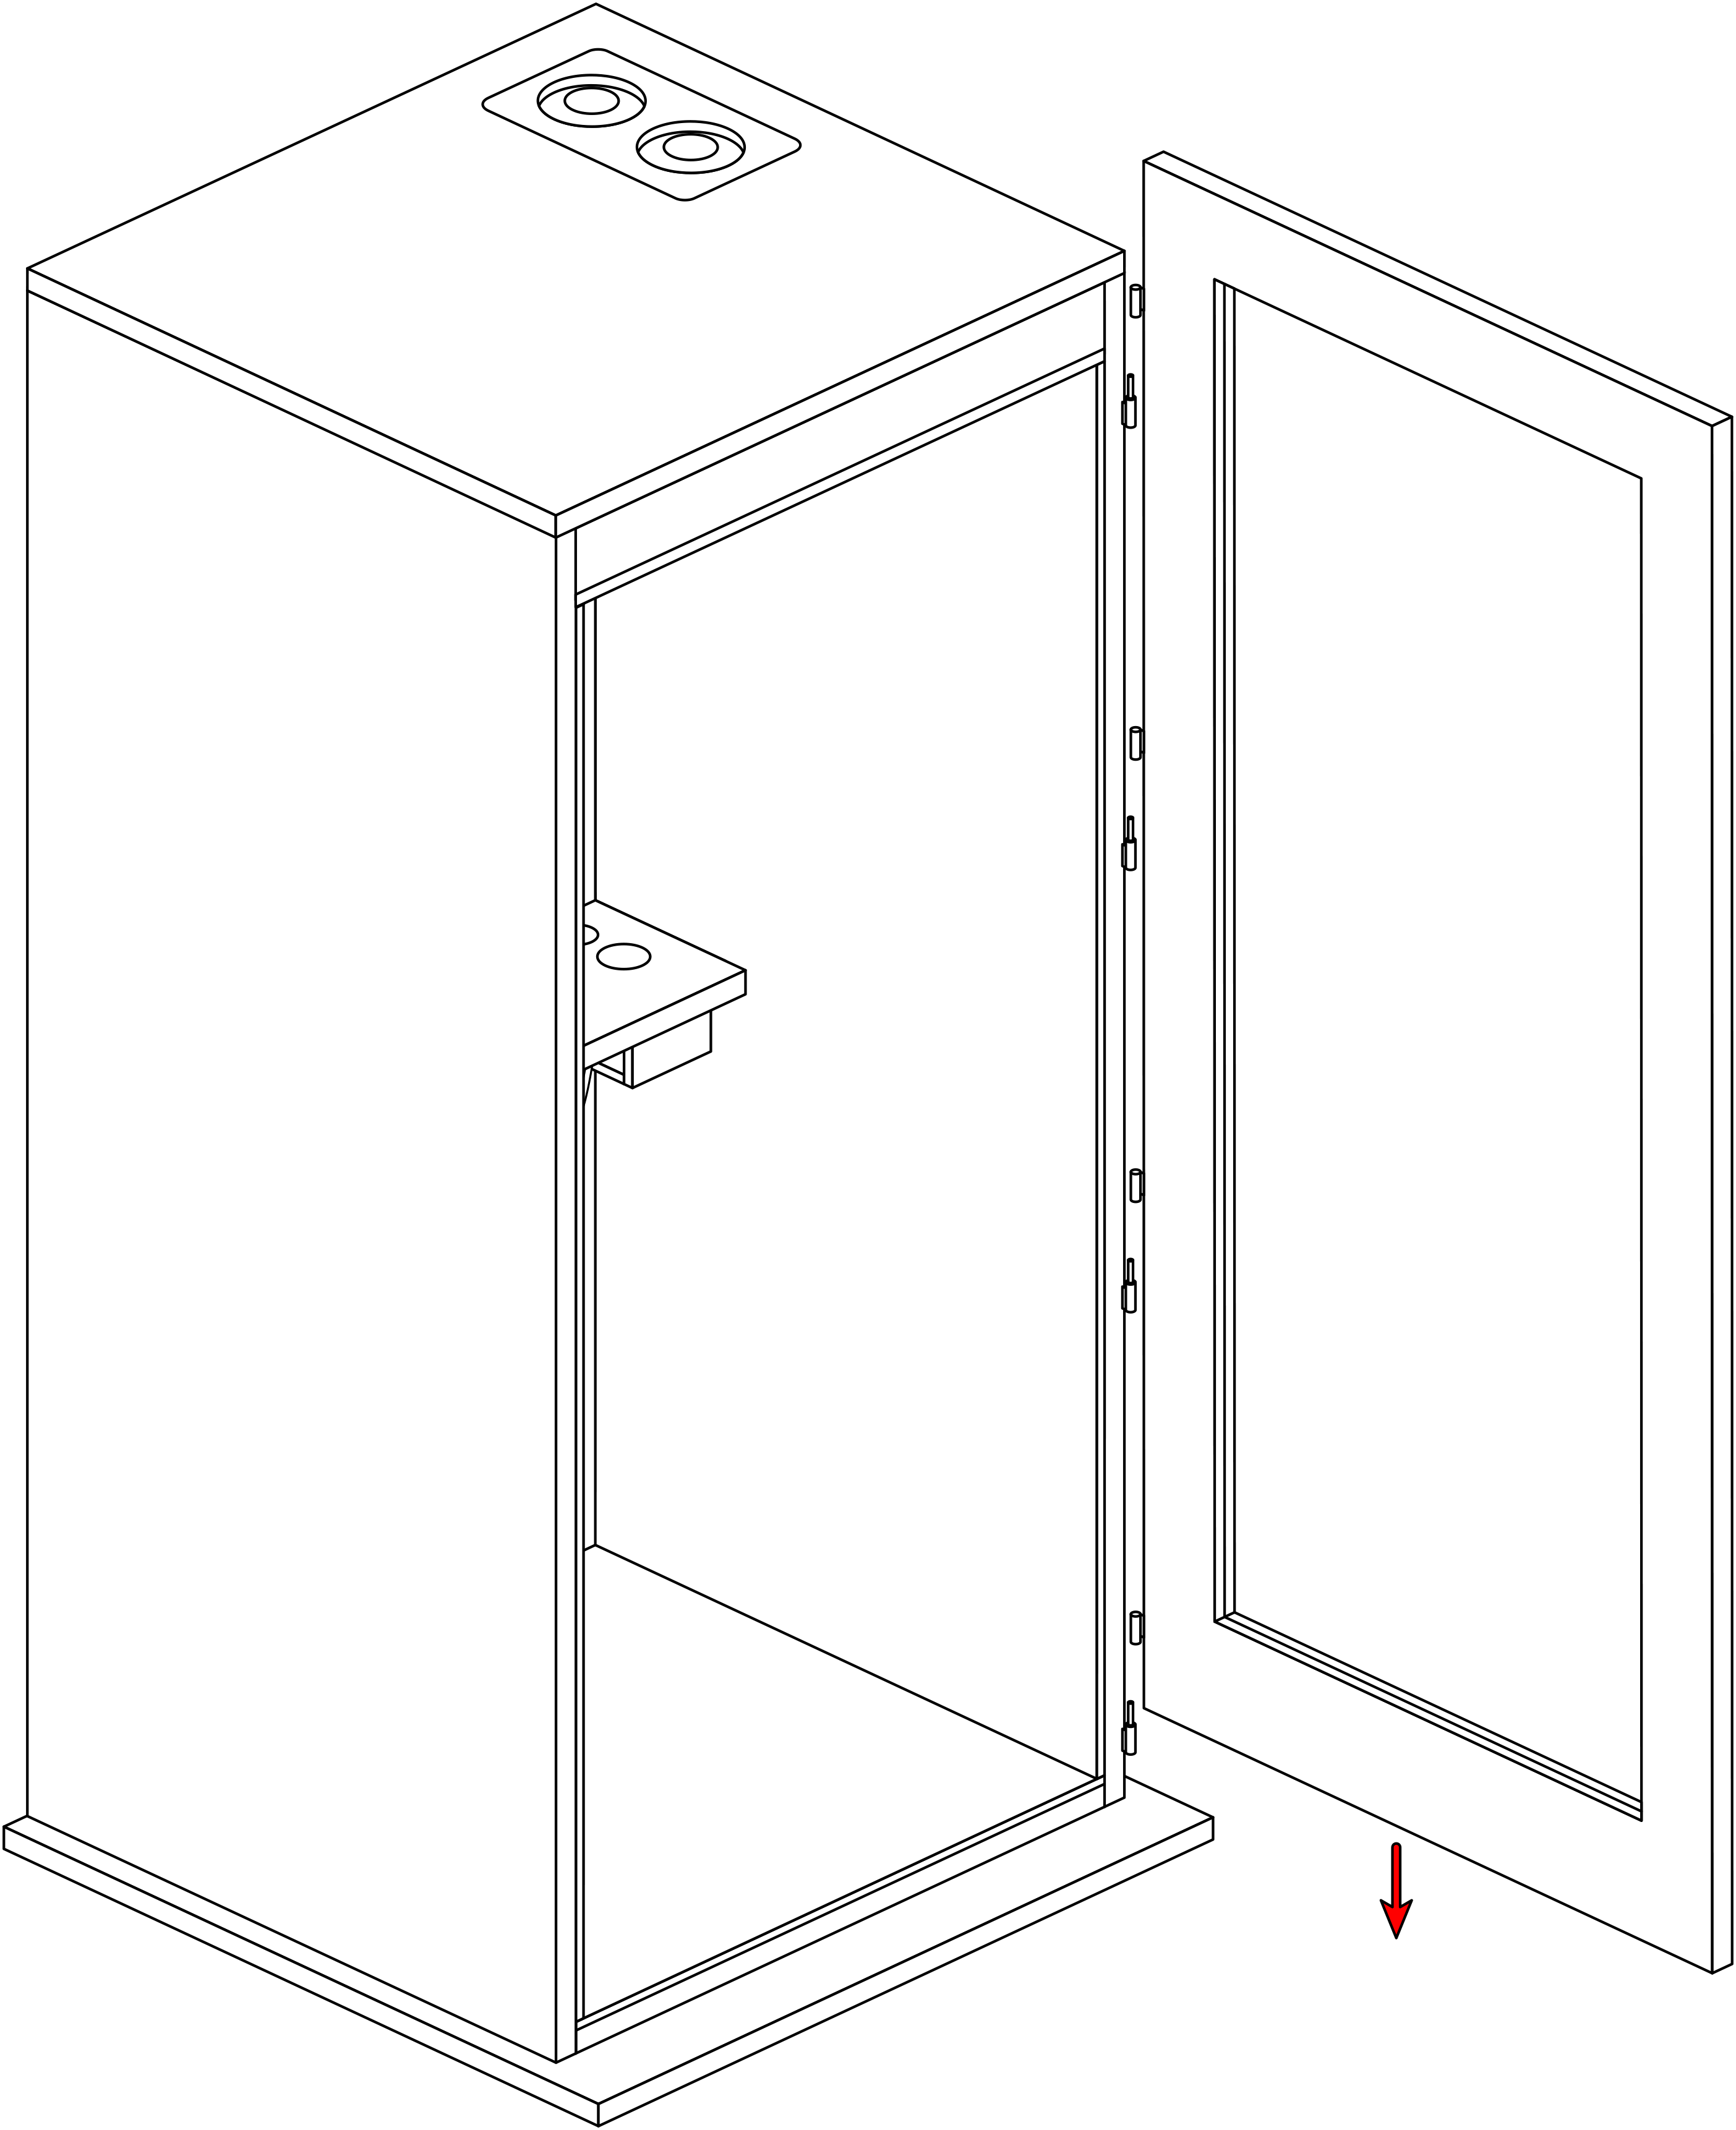
Make sure to plug in the cable coming from the bottom into the power strip in the box. It’s the 1st slot closest to the back panel. When you insert the plug you need to hear it click. Next, plug in the cable coming from the top of the back panel. It goes into the remaining slot.

Again, make sure you hear it click!

Step 7

Slide on the door.
Attach the interior door handle.

Check that the door is straight & level with the booth!

Voilà!

You are ready!